
Image Source: Google
Do you enjoy getting creative and making unique DIY projects? Custom transfer sheets can take your crafts to the next level by allowing you to easily transfer intricate designs onto various surfaces. Whether you want to add a personal touch to clothing, home decor, or gifts, custom transfer sheets are a versatile and fun tool to have in your crafting arsenal. In this article, we will explore how you can create stunning DIY projects using custom transfer sheets.
Choosing the Right Transfer Sheet
Factors to Consider:
- Surface: Consider the surface you will be transferring the design onto, such as fabric, wood, or paper.
- Design Complexity: Choose a transfer sheet that can accurately replicate the level of detail in your design.
- Size: Ensure the transfer sheet is the appropriate size for your project to avoid any cropping or resizing issues.
Types of Transfer Sheets:
- Clear Transfer Sheets: Ideal for light-colored or white surfaces.
- Opaque Transfer Sheets: Suitable for dark-colored surfaces as they provide a white base for the design to stand out.
- Glossy Transfer Sheets: Add a shiny finish to your designs, perfect for projects that require a bit of sparkle.
Preparing Your Design
Steps to Follow:
- Create or choose a design: You can either create your own design using graphic design software or choose one from pre-made options.
- Reverse the image: If your design contains text or intricate details, flip the image horizontally to ensure it transfers correctly onto your surface.
- Print the design: Use a high-quality printer to print your design onto the transfer sheet. Follow the specific instructions provided with the transfer sheet for optimal results.
Transferring the Design
Application Process:
- Prepare the surface: Make sure the surface is clean, dry, and free of any dust or debris that may interfere with the transfer.
- Place the transfer sheet: Carefully position the transfer sheet with the design facing down onto the surface. Secure it in place with tape to prevent any movement during the transfer process.
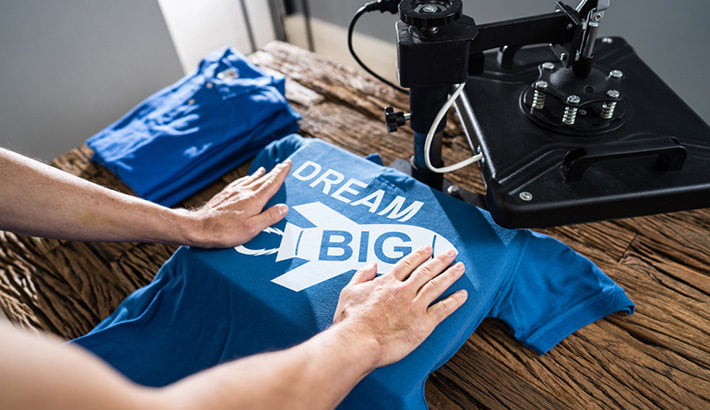
- Apply heat: Use a heat press or household iron to apply heat and pressure to the transfer sheet. Follow the recommended temperature and duration specified by the transfer sheet manufacturer.
- Peel off the backing: Once the transfer is complete, allow it to cool before carefully peeling off the backing to reveal your stunning design on the surface.
Finishing Touches
Enhancing Your Project:
- Seal the design: To ensure the longevity of your design, consider using a sealant or clear coat to protect it from wear and tear.
- Add embellishments: Get creative and add embellishments such as rhinestones, sequins, or fabric paint to enhance the overall look of your project.
- Show off your creation: Once your DIY project is complete, proudly display or wear it to showcase your unique design and crafting skills.
Tips for Success
Helpful Suggestions:
- Practice on a sample piece before transferring it onto your final project to ensure you are comfortable with the process.
- Experiment with different transfer sheets and surfaces to discover new possibilities for your DIY projects.
- Follow the manufacturer's instructions carefully to achieve the best results and prevent any mishaps during the transfer process.
With custom transfer sheets, the possibilities for creating stunning DIY projects are endless. Whether you're a seasoned crafter or just starting, incorporating custom transfers into your projects can elevate them to a whole new level. Get creative, experiment with different designs and surfaces, and have fun crafting unique creations that reflect your style and creativity.
