
Image Source: Google
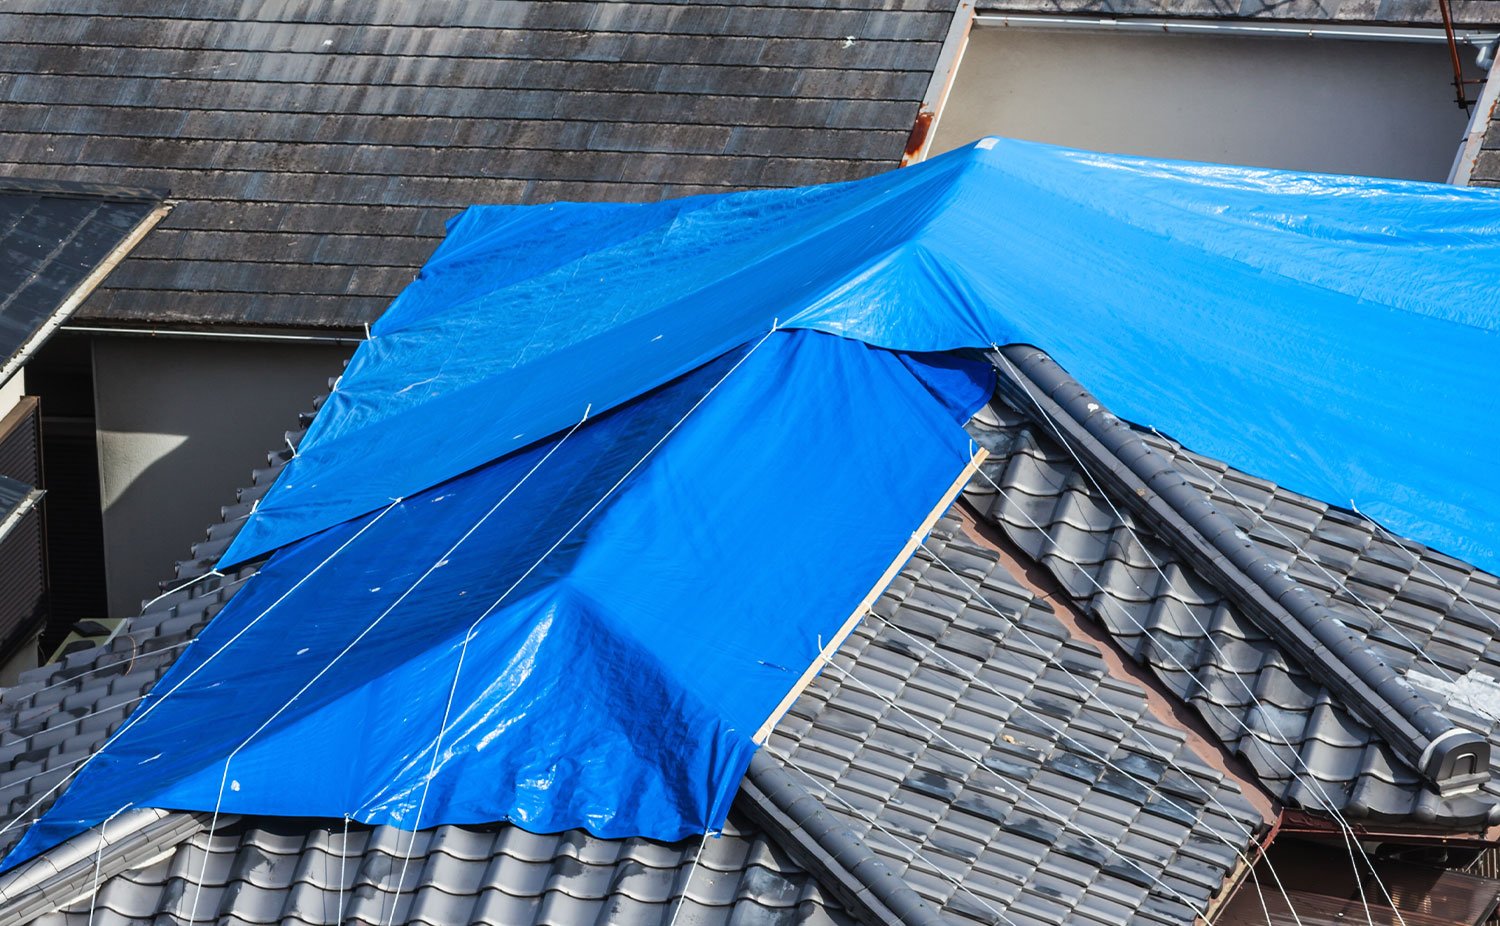
When a storm hits, the safety and protection of your home become a top priority. One crucial step in safeguarding your property against further damage is the installation of a roof tarp. Roof tarps are temporary coverings that can prevent leaks and additional destruction to your home's interior until permanent repairs can be made. Refer Link: https://totalcarerestoration.com/services/roof-tarping/
Benefits of Roof Tarp Installation
Protection from Water Damage
- Roof tarps act as a barrier against rainwater, preventing it from seeping into your home and causing water damage to your ceilings, walls, and belongings.
Prevents Mold and Mildew
- By keeping the interior of your home dry, roof tarps help prevent the growth of mold and mildew, which can pose health risks to you and your family.
Preserves Property Value
- Timely installation of a roof tarp can prevent further structural damage to your home, helping to preserve its value and prevent costly repairs in the long run.
When to Install a Roof Tarp
It is crucial to act quickly and install a roof tarp as soon as possible after storm damage occurs. Here are some scenarios when roof tarp installation is necessary:
After Severe Weather
- Following a severe storm, such as a hurricane, tornado, or hailstorm, it is important to inspect your roof for any damage and install a tarp if needed to prevent further issues.
Leaking Roof
- If you notice water leaking into your home through the roof, immediate tarp installation can help stop the leak and protect your property from water damage.
Waiting for Roof Repairs
- If you are waiting for professional roof repairs or insurance assessment, a temporary roof tarp can provide interim protection for your home.
How to Install a Roof Tarp
While it is recommended to hire professionals for roof tarp installation, here are the general steps involved in the process:
- Clean the Area: Remove any debris or loose materials from the damaged area of the roof.
- Measure and Cut: Measure the tarp to fit the damaged area, leaving an overhang of at least 4 feet on each side.
- Secure the Tarp: Use roofing nails or screws to secure the tarp to the roof, making sure it is tightly fastened and cannot be lifted by wind.
- Seal the Edges: Apply roofing cement along the edges of the tarp to create a watertight seal and prevent leaks.
- Inspect Regularly: Check the tarp regularly for any signs of damage or loosening, and make repairs as needed.
Conclusion
Weathering the storm with a roof tarp can make a significant difference in protecting your home and belongings from the elements. By understanding the importance of timely tarp installation, you can minimize the risk of water damage, mold growth, and costly repairs. Remember to act quickly and seek professional help when needed to ensure the safety and security of your property.
